Buying a compact hookah is an excellent solution for home or travel. If you are looking for a quality hookah in Poland, pay attention to models with a sturdy stem and sealed joints. Small hookahs require special precision during assembly, but by following our instructions, you will achieve perfect draw and rich flavor.
What You Will Need for Assembly
Before you start, prepare the following components and accessories:
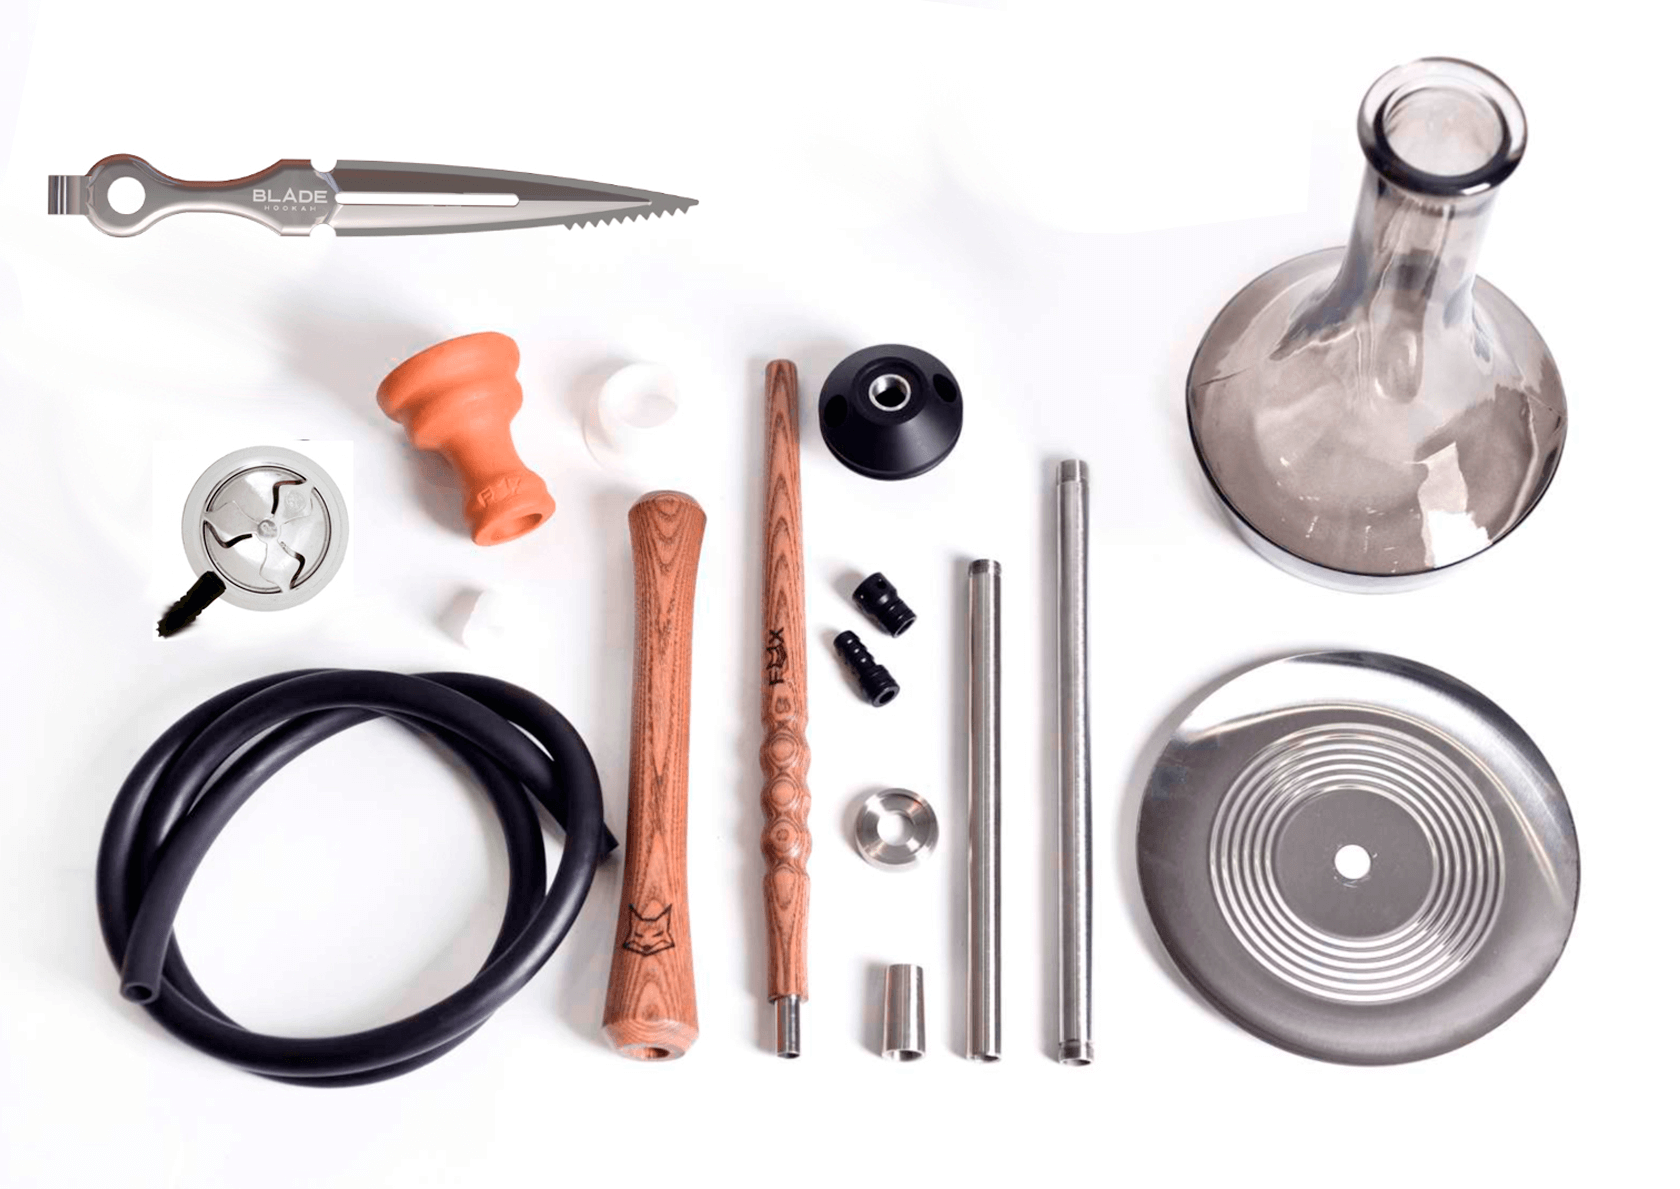
- The small hookah itself (base, stem, bowl, tray, hose with mouthpiece, rubber gaskets, and valve).
- Cooling liquid: water, milk, or juice (plus crushed ice for enhanced cooling).
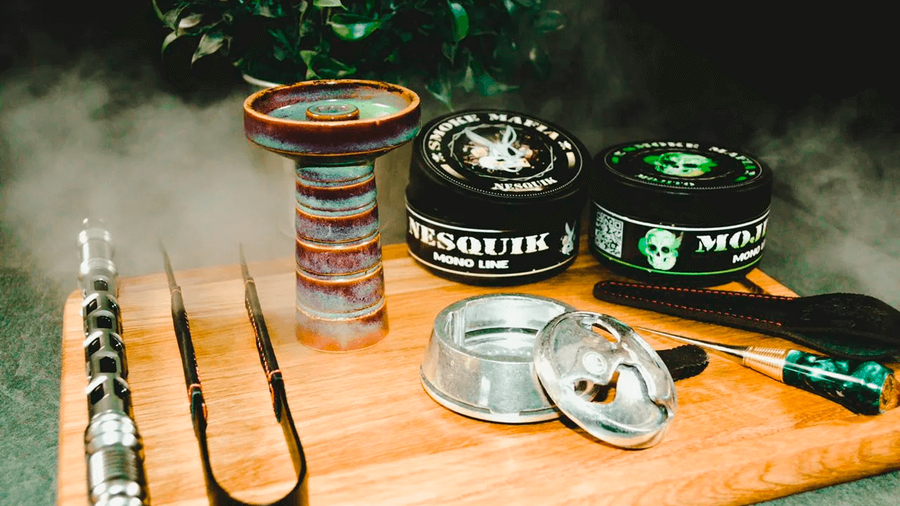
- Hookah tobacco of your chosen flavor.
- Foil (aluminum food-grade) or HMD (Heat Management Device).
- Charcoal (we recommend coconut charcoal - it provides stable heat without odor).
- A toothpick or a special awl for piercing the foil.
- A lighter or an electric stove for lighting the charcoal.

Step 1. Preparing the Base
Fill the base with your chosen cooling liquid. The key point: the lower end of the stem should be submerged in the liquid by about 2-3 centimeters. Too little water means poor filtration and cooling, too much water risks gurgling or water getting into the hose. To give a special taste and aroma, you can add slices of citrus (lemon, orange), a few fresh mint leaves, or a little crushed ice to the water (but do not fill more than half the volume of the base with ice, so there is still room for water).
Checking the liquid level: Insert the stem into the base (without the bowl on top) and make a test gentle draw through the hose. You should hear a characteristic bubbling, but the water should NOT rise up the stem and get into your mouth. If this happens, pour out some liquid. If there is almost no bubbling, add more liquid.
Step 2. Assembling the Base
Insert the stem into the base opening, ensuring that the rubber gasket fits tightly and provides a seal. Carefully lift the hookah by the stem - the base should hold securely and not fall off. Next, attach the tray for coals to the upper part of the stem (where the thread or gasket is provided). Do not forget to check and install the rubber valve (usually on the side of the stem) - make sure that the ball inside it moves freely, blocking the reverse flow of air during the draw. Place the second rubber sealing ring on the very top of the stem, on which the bowl will be placed later.
Step 3. Packing the Tobacco
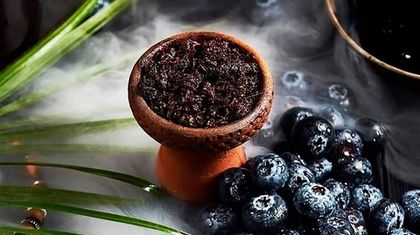
This step is critically important for the taste and quality of the smoke. Take the bowl and fill it with tobacco, following key rules:
- Do not pack tightly! The tobacco should lie loosely so that air and heat can circulate freely.
- Do not fill to the edges. Leave a gap of about 2 millimeters between the surface of the tobacco and the edge of the bowl. This will prevent the tobacco from burning against the foil or HMD.
- Distribute evenly. Avoid creating a high mound in the center. The tobacco should lie in an even layer.
- For fruit mixes: First, place the main tobacco, and then carefully place small pieces of fruit on top.
Step 4. Heat Insulation
Now, the bowl with tobacco needs to be insulated from direct contact with the coals. You have two main options:
Using foil: Cut a piece of strong food-grade foil slightly larger than the diameter of the bowl. Cover the bowl and tightly stretch the foil like a drum membrane. Use a toothpick or awl to make 15-20 small holes, distributing them in a spiral from the center to the edges. The denser or wetter the tobacco, the more holes may be needed.
Using HMD (Heat Management Device): This is a metal device that is placed directly on the bowl instead of foil. Install it strictly in the center. The main advantage of HMD is more even heating of the tobacco and no need for foil and piercing.
Step 5. Setting Up the Coals
While you were preparing the bowl, the coals should have been well lit on the stove or with a lighter. They should be uniformly red across the entire surface, without black areas and without open flame. For a small hookah, usually one, maximum two pieces of coconut charcoal are sufficient.
Placing the coals: If you are using foil, carefully place the glowing coals on it, closer to the edge of the bowl. Never place the coals in the very center! As they burn (approximately every 10-15 minutes), turn them over and move them to another edge or closer to the center if the smoke becomes weaker. If you are using HMD, place the glowing coals inside the device, following the instructions for the specific HMD model. Usually, they are also placed closer to the edges of the device's lid.
Final: Checking and Smoking
Carefully place the prepared bowl on the gasket at the top of the stem. Take the hose and make a few smooth but confident draws. Your goal is to "warm up" the hookah, meaning to heat the tobacco and fill the base with smoke. After 3-5 draws, thick, aromatic smoke should appear.

If the draw is too heavy or there is little smoke:
- Check the water level in the base again (with a test draw without the bowl).
- Make sure the coals are fully lit and providing enough heat (they should be bright red).
- Check ALL connections (stem-base, hose-port, valve, bowl-stem) for air leaks. The gaskets should fit tightly.
- Ensure that the holes in the foil are not clogged with ash or stuck together, or that the coals in the HMD have not gone out.
Tips for Mini Hookahs
Always use a metal screen for coals on the tray - due to the compact size of the tray, the risk of accidentally knocking off the coal is especially high. Immediately after finishing smoking, disassemble the hookah and rinse the base, stem, and hose with warm water - in small hookahs, residual odors are absorbed more strongly and quickly. Store the hookah completely disassembled, allowing all parts, especially rubber gaskets, to dry well. With proper assembly and care, even the smallest hookah will give you no less pleasure than its larger counterpart!


